How to Make a Sourdough Starter: A Beginner’s Guide to Off-Grid Baking

Sourdough bread, with its distinct taste and hearty texture, is a staple in many off-grid kitchens. Not only is it delicious and nutritious, but making sourdough from scratch also fits perfectly with the self-sufficient ethos of off-grid living. One of the key components of baking sourdough bread is creating your own sourdough starter. It’s a simple process that feels almost like a magical act of bringing flour and water to life. So, let’s get started on this rewarding journey of making your very own sourdough starter!

reviewed

New Nightwear Styles For Autumn

Choosing the right types of nightwear will make your sleep experience more relaxed. Open your closet and make a special room for all the different types of nightwear that deserve that space.

What You’ll Need:

  • Flour: Whole grain flour works best (rye or whole wheat), as it’s richer in nutrients and wild yeast.
  • Water: Use filtered or spring water if possible, as chlorine in tap water can hinder yeast growth.
  • A Jar: A clean glass jar (about 1-liter capacity) with a loose-fitting lid is ideal.
  • A Scale: For accuracy, it’s best to use a kitchen scale, but measuring cups will work in a pinch.

Step-by-Step Guide to Making Your Sourdough Starter:

Day 1: Mixing

  1. Combine Flour and Water: In your jar, mix 100 grams (about 3/4 cup) of flour with 100 grams (about 1/2 cup) of water. Stir vigorously to incorporate air; this helps to capture wild yeast.
  2. Cover and Rest: Cover the jar loosely and leave it at room temperature (a warm spot is ideal) for 24 hours.

Day 2: First Signs of Life

  1. Check for Bubbles: By now, you may see a few bubbles, indicating yeast activity. If not, don’t worry; it can take a few days.
  2. Feed Your Starter: Add another 100 grams each of flour and water, stir well, and let it rest for another 24 hours.

Day 3: The Yeast Awakens

  1. Observe Changes: Your mixture should be bubbly and may have a slight smell. This is good!
  2. Discard Half: Remove and discard about half of your starter. This helps control the amount and strengthens the yeast culture.
  3. Feed Again: Add 100 grams each of flour and water to the remaining mixture, mix, and rest.

Days 4-7: Regular Feeding

  1. Continue the Process: For the next several days, continue discarding half of the starter and feeding it with 100 grams each of flour and water daily.
  2. Watch for Consistency: Your starter should be consistently bubbly and have a pleasant, slightly sour aroma.

Day 7 and Beyond: Ready to Use

  1. Assess Your Starter: By now, your starter should be active and ready to use for baking.
  2. Maintain Your Starter: If you bake often, keep your starter at room temperature, feeding it daily. If you bake less frequently, store it in the refrigerator and feed it once a week.

Tips for Sourdough Starter Success:

  • Patience is Key: Developing a strong starter takes time. Don’t be discouraged if it takes a few more days than expected.
  • Temperature Matters: Warmer temperatures speed up fermentation. If your kitchen is cool, find a warmer spot for your starter.
  • The Right Consistency: Your starter should be thick but stirrable, like thick pancake batter.
  • Know When It’s Ready: A mature starter will rise and fall predictably after feeding and will have a pleasantly sour but not unpleasant smell.

Creating and maintaining a sourdough starter is a rewarding part of off-grid living. It’s a testament to the beauty of simplicity and the power of natural processes. As you embark on your sourdough baking adventures, remember that each starter is unique, much like the off-grid lifestyle. It’s about embracing the process, learning as you go, and enjoying the delicious, rustic loaves you’ll create from your very own homemade sourdough starter. Happy baking!

Share
Pin
Tweet
Related

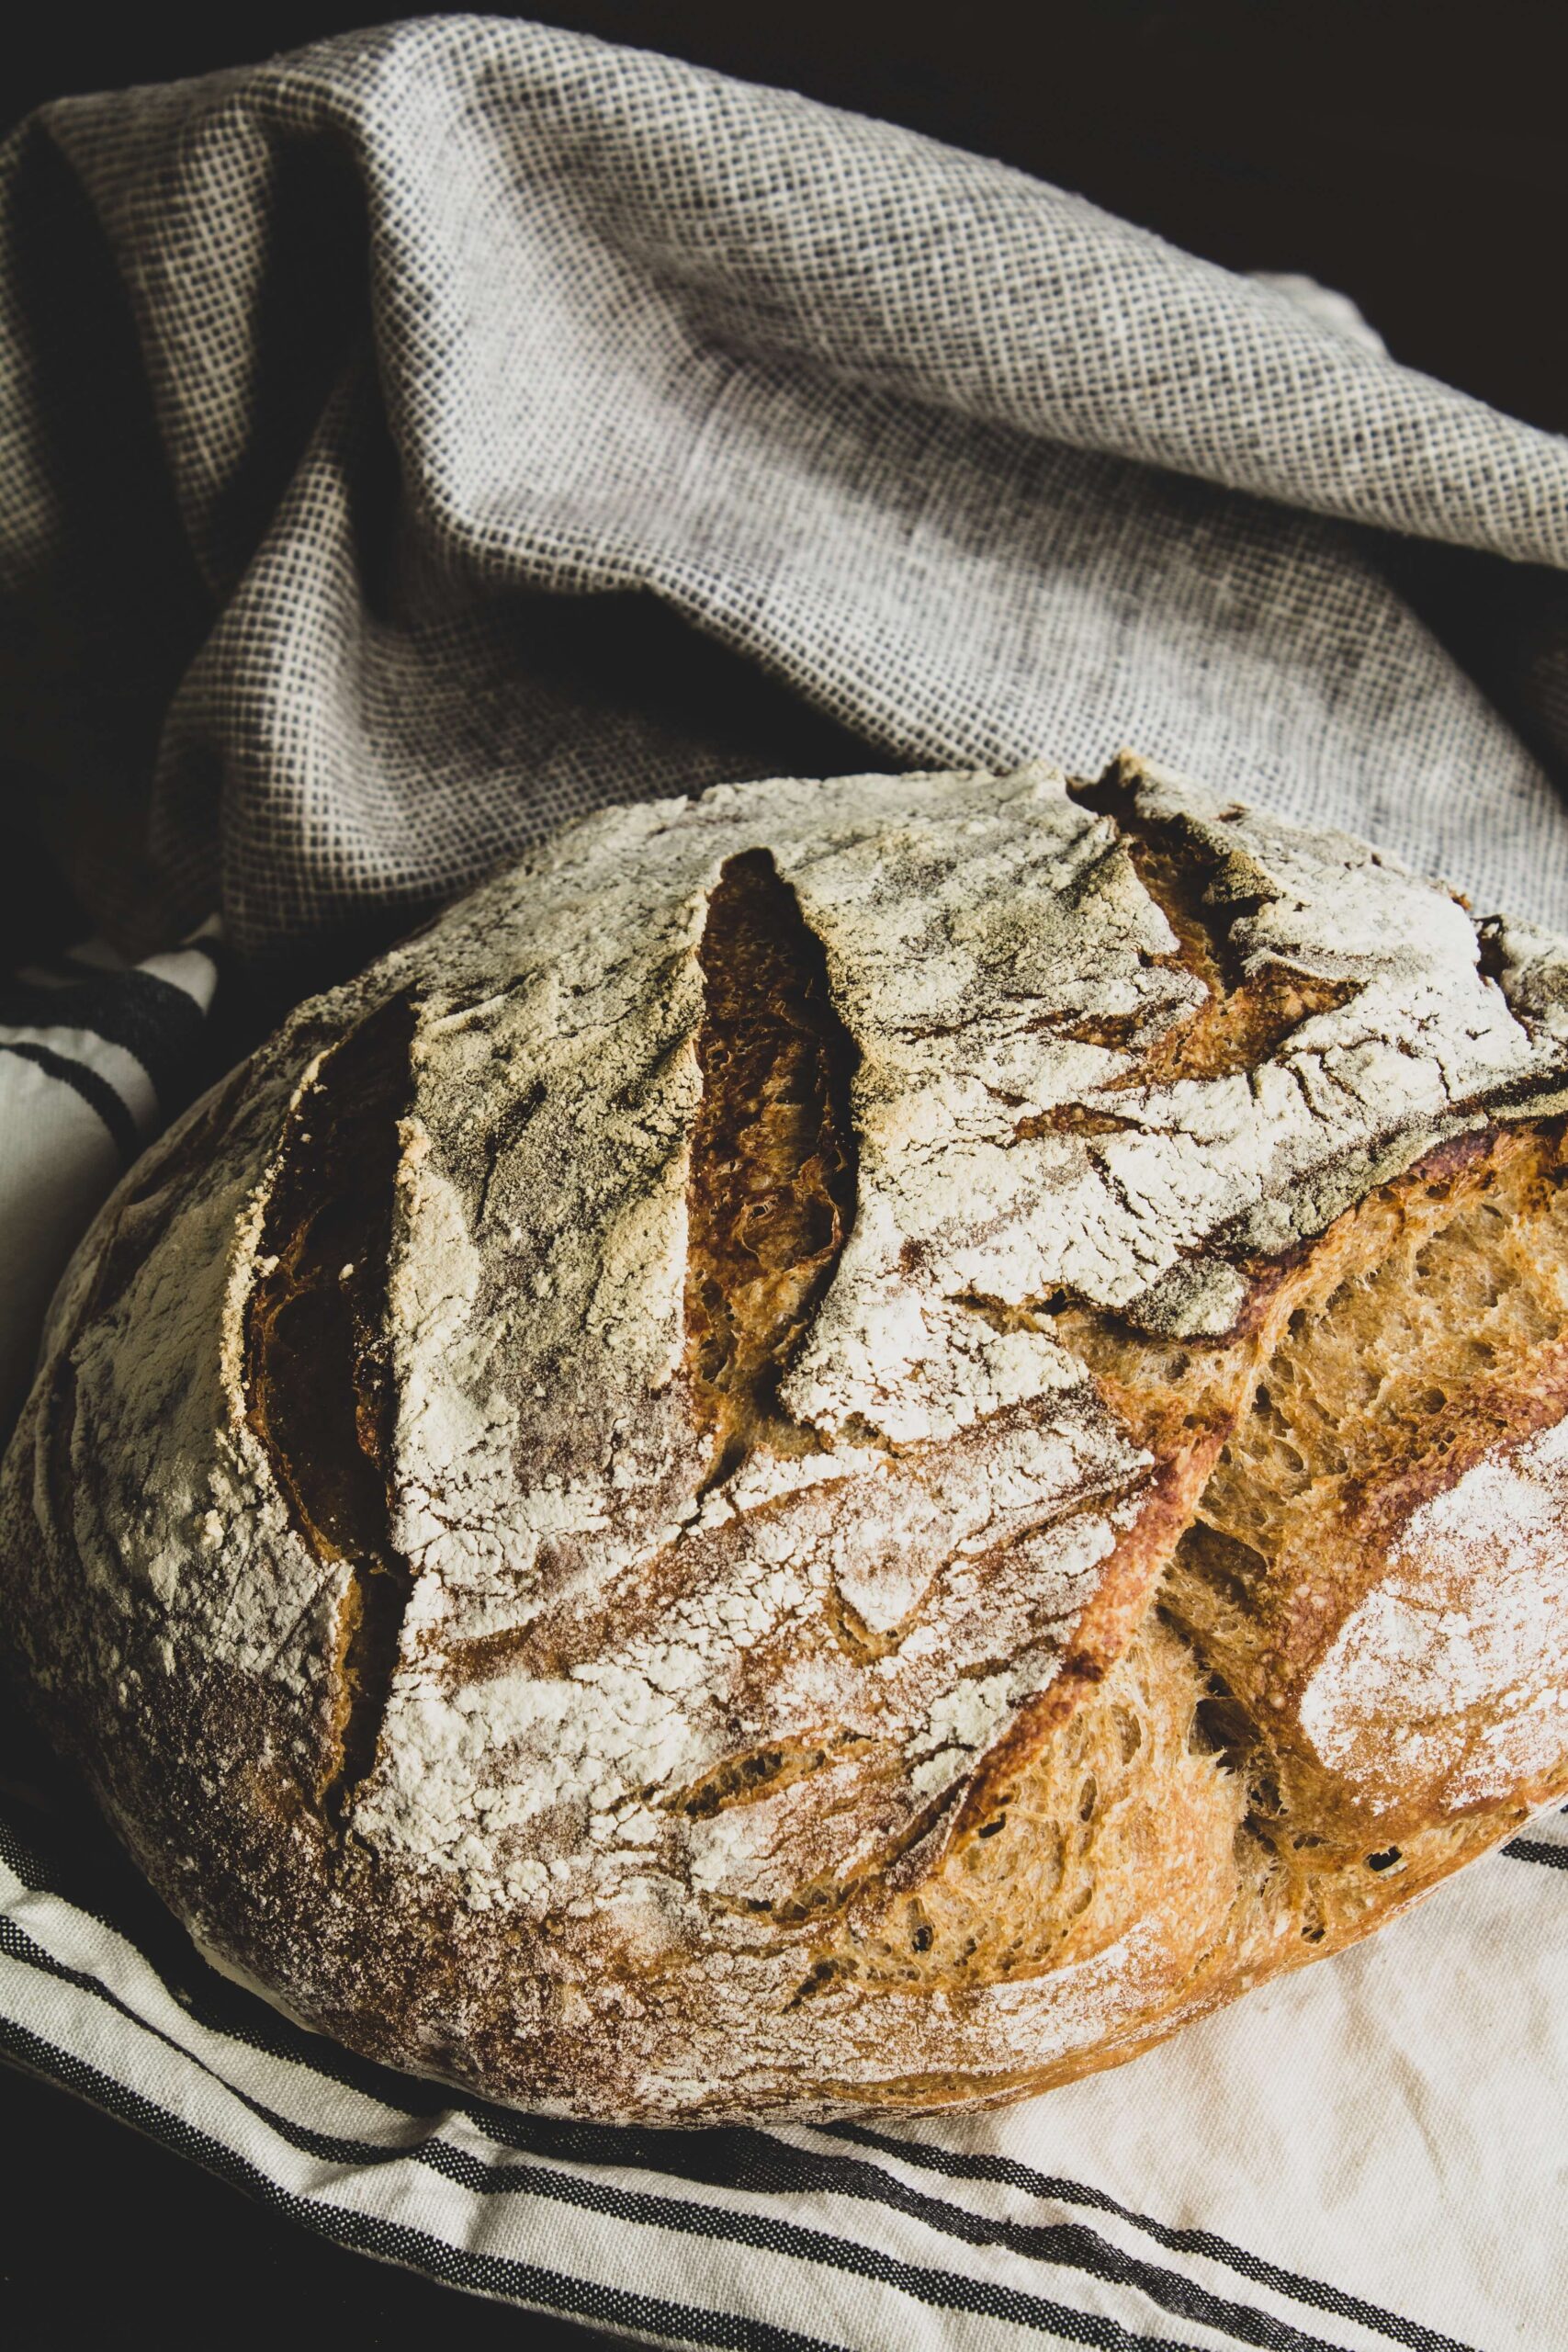
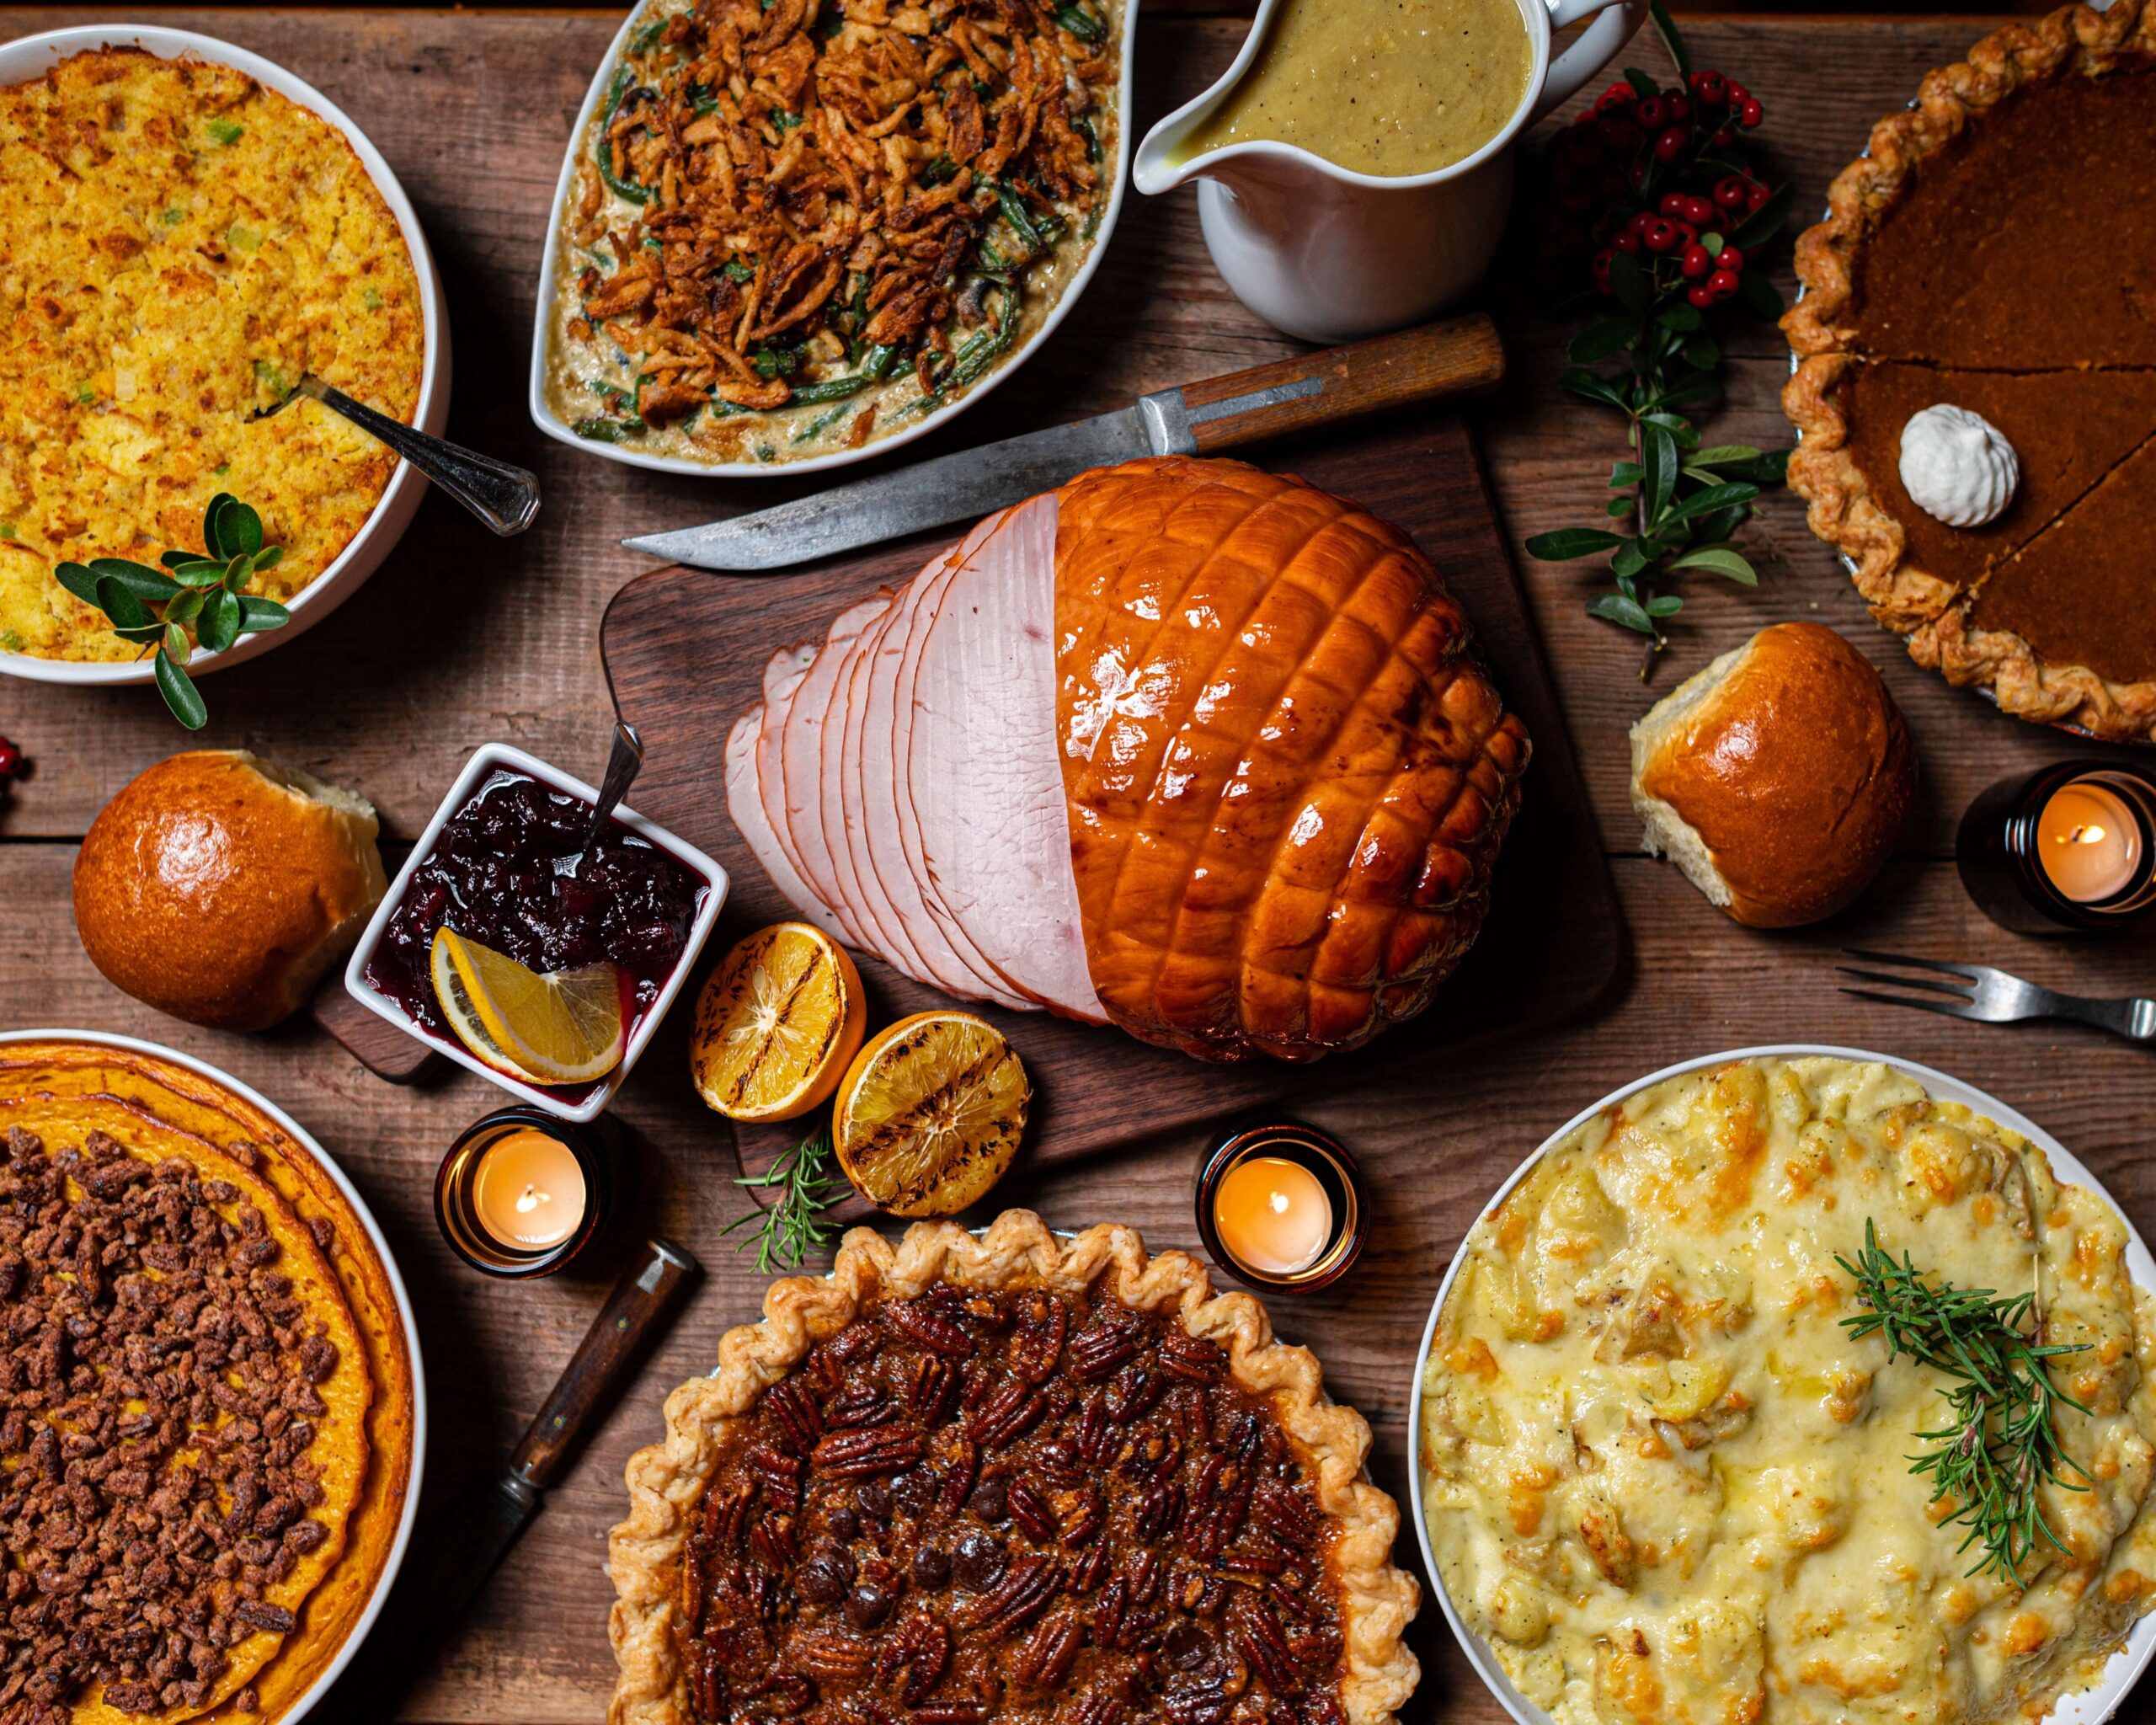
Preserving Thanksgiving Leftovers

Thanksgiving brings not just a day of feasting but also the inevitable bounty of leftovers. Transforming these into preserved delights means you can relish the flavors of Thanksgiving all year round.

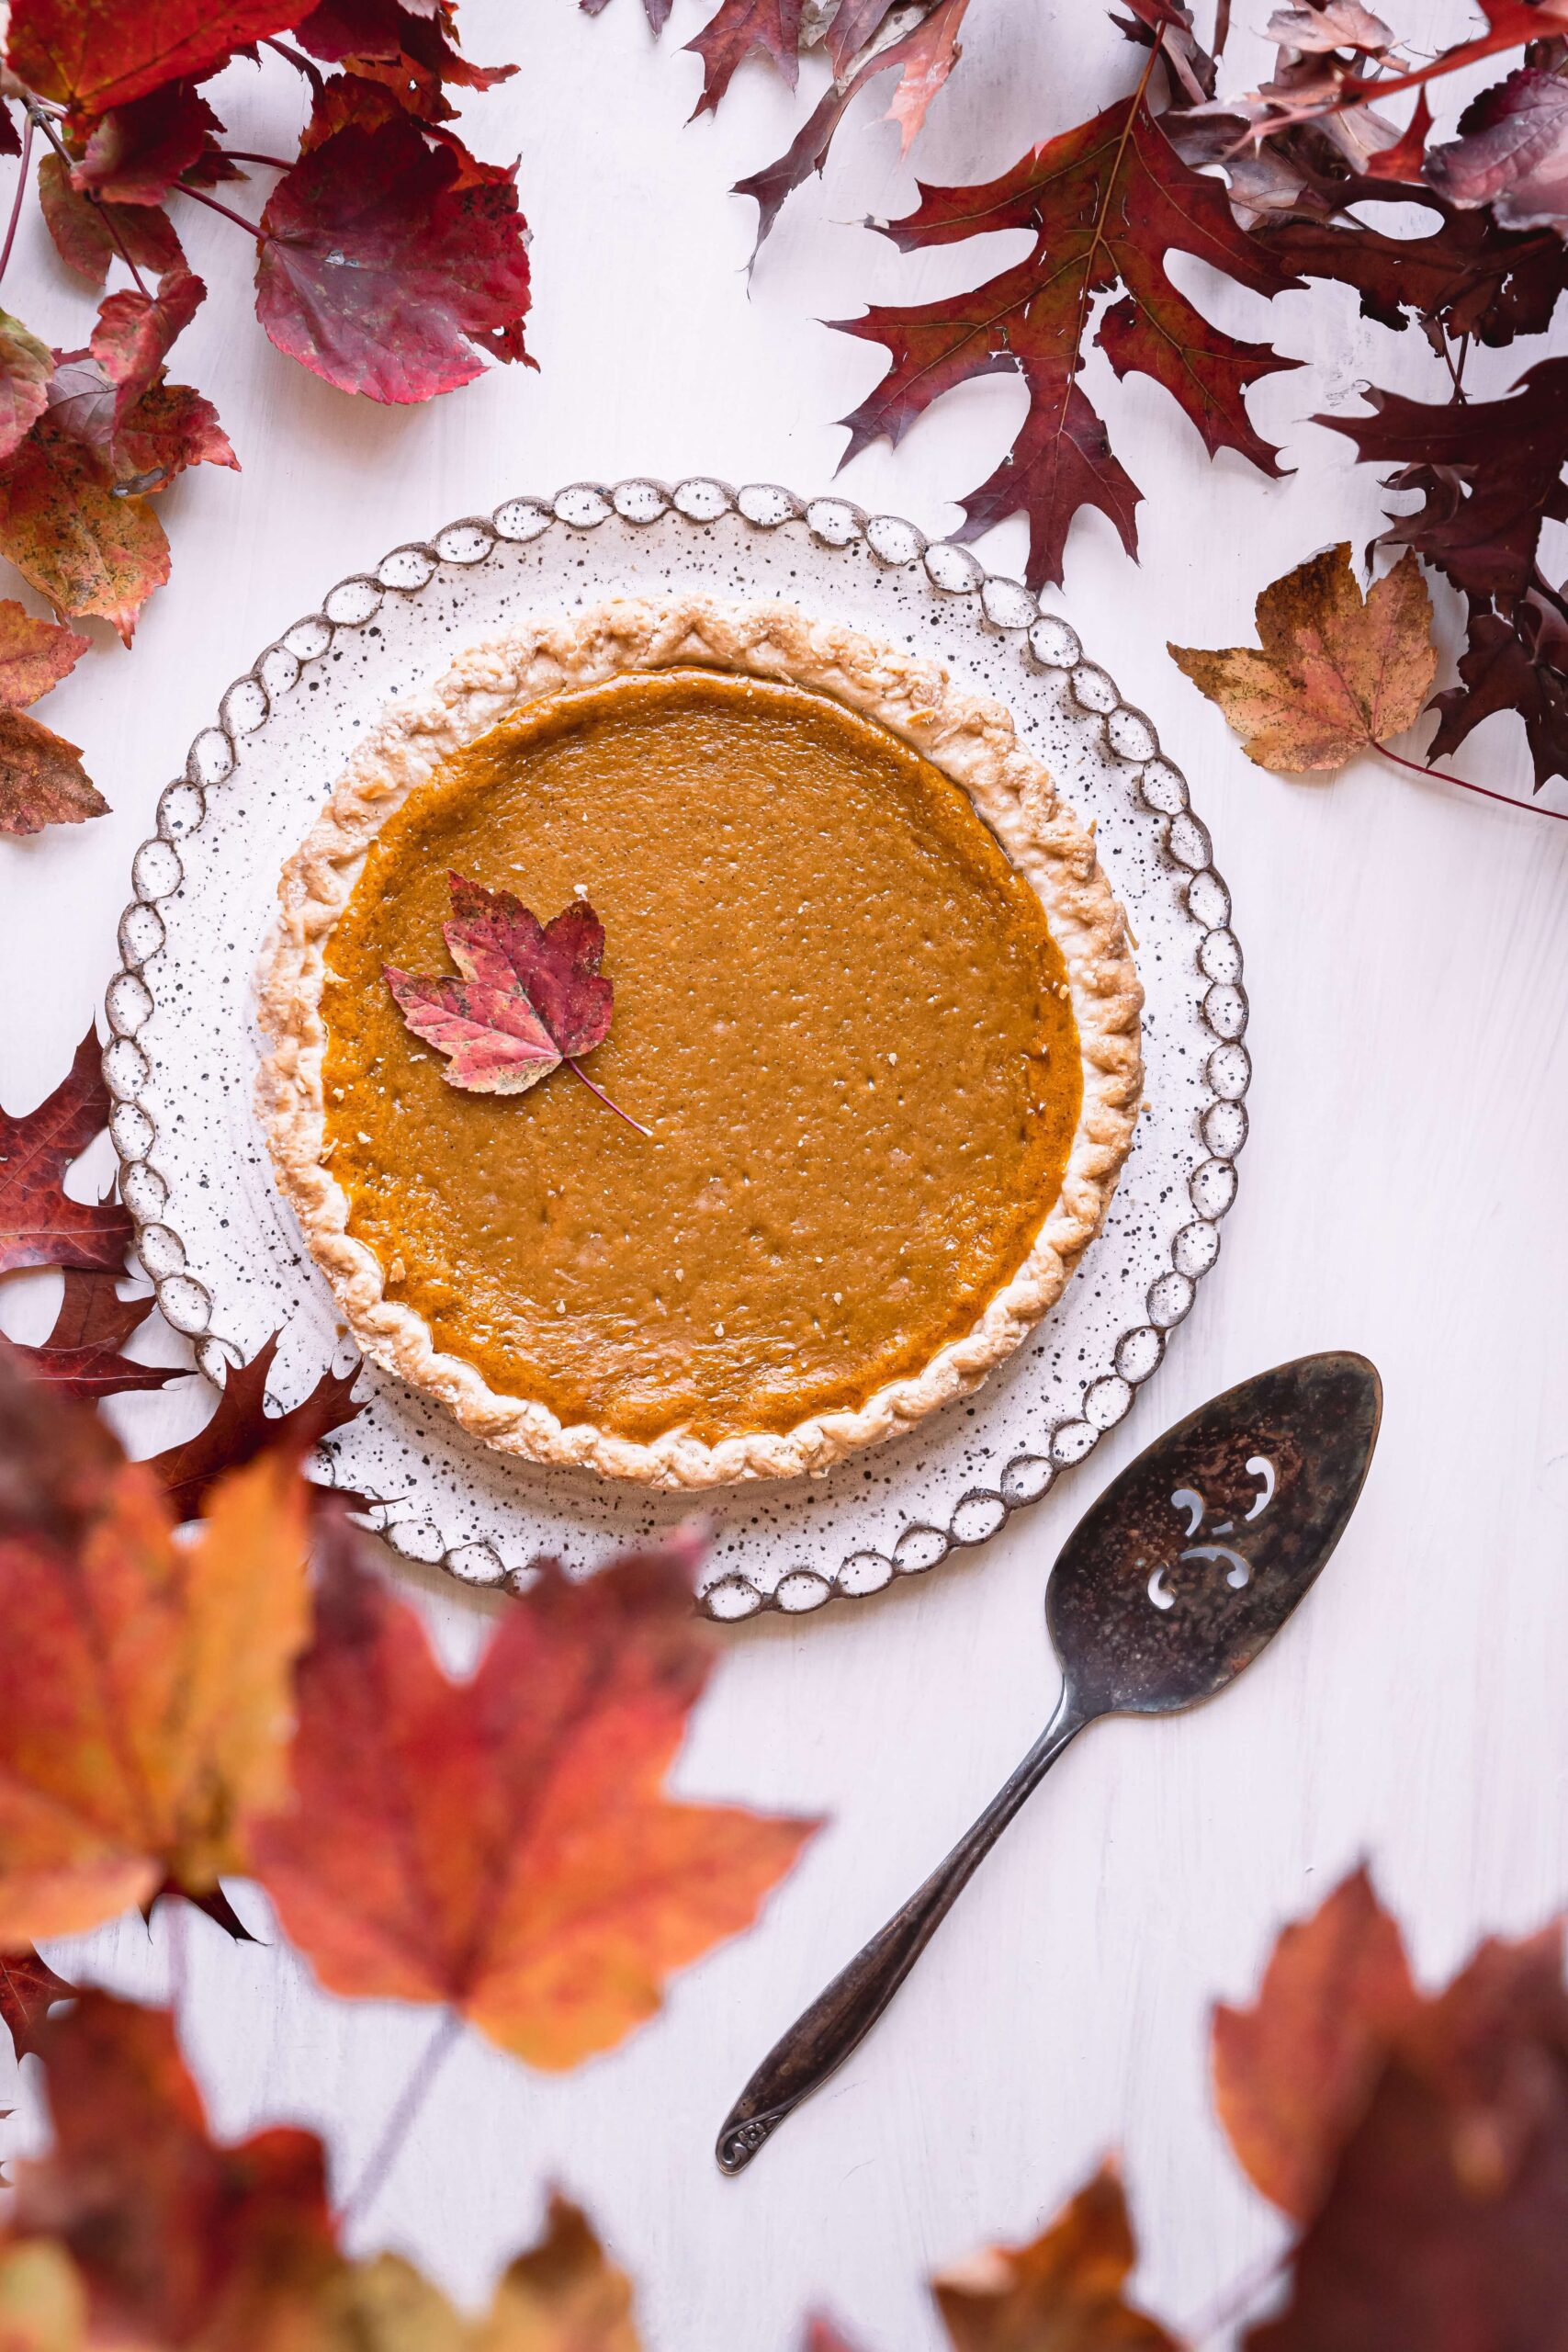
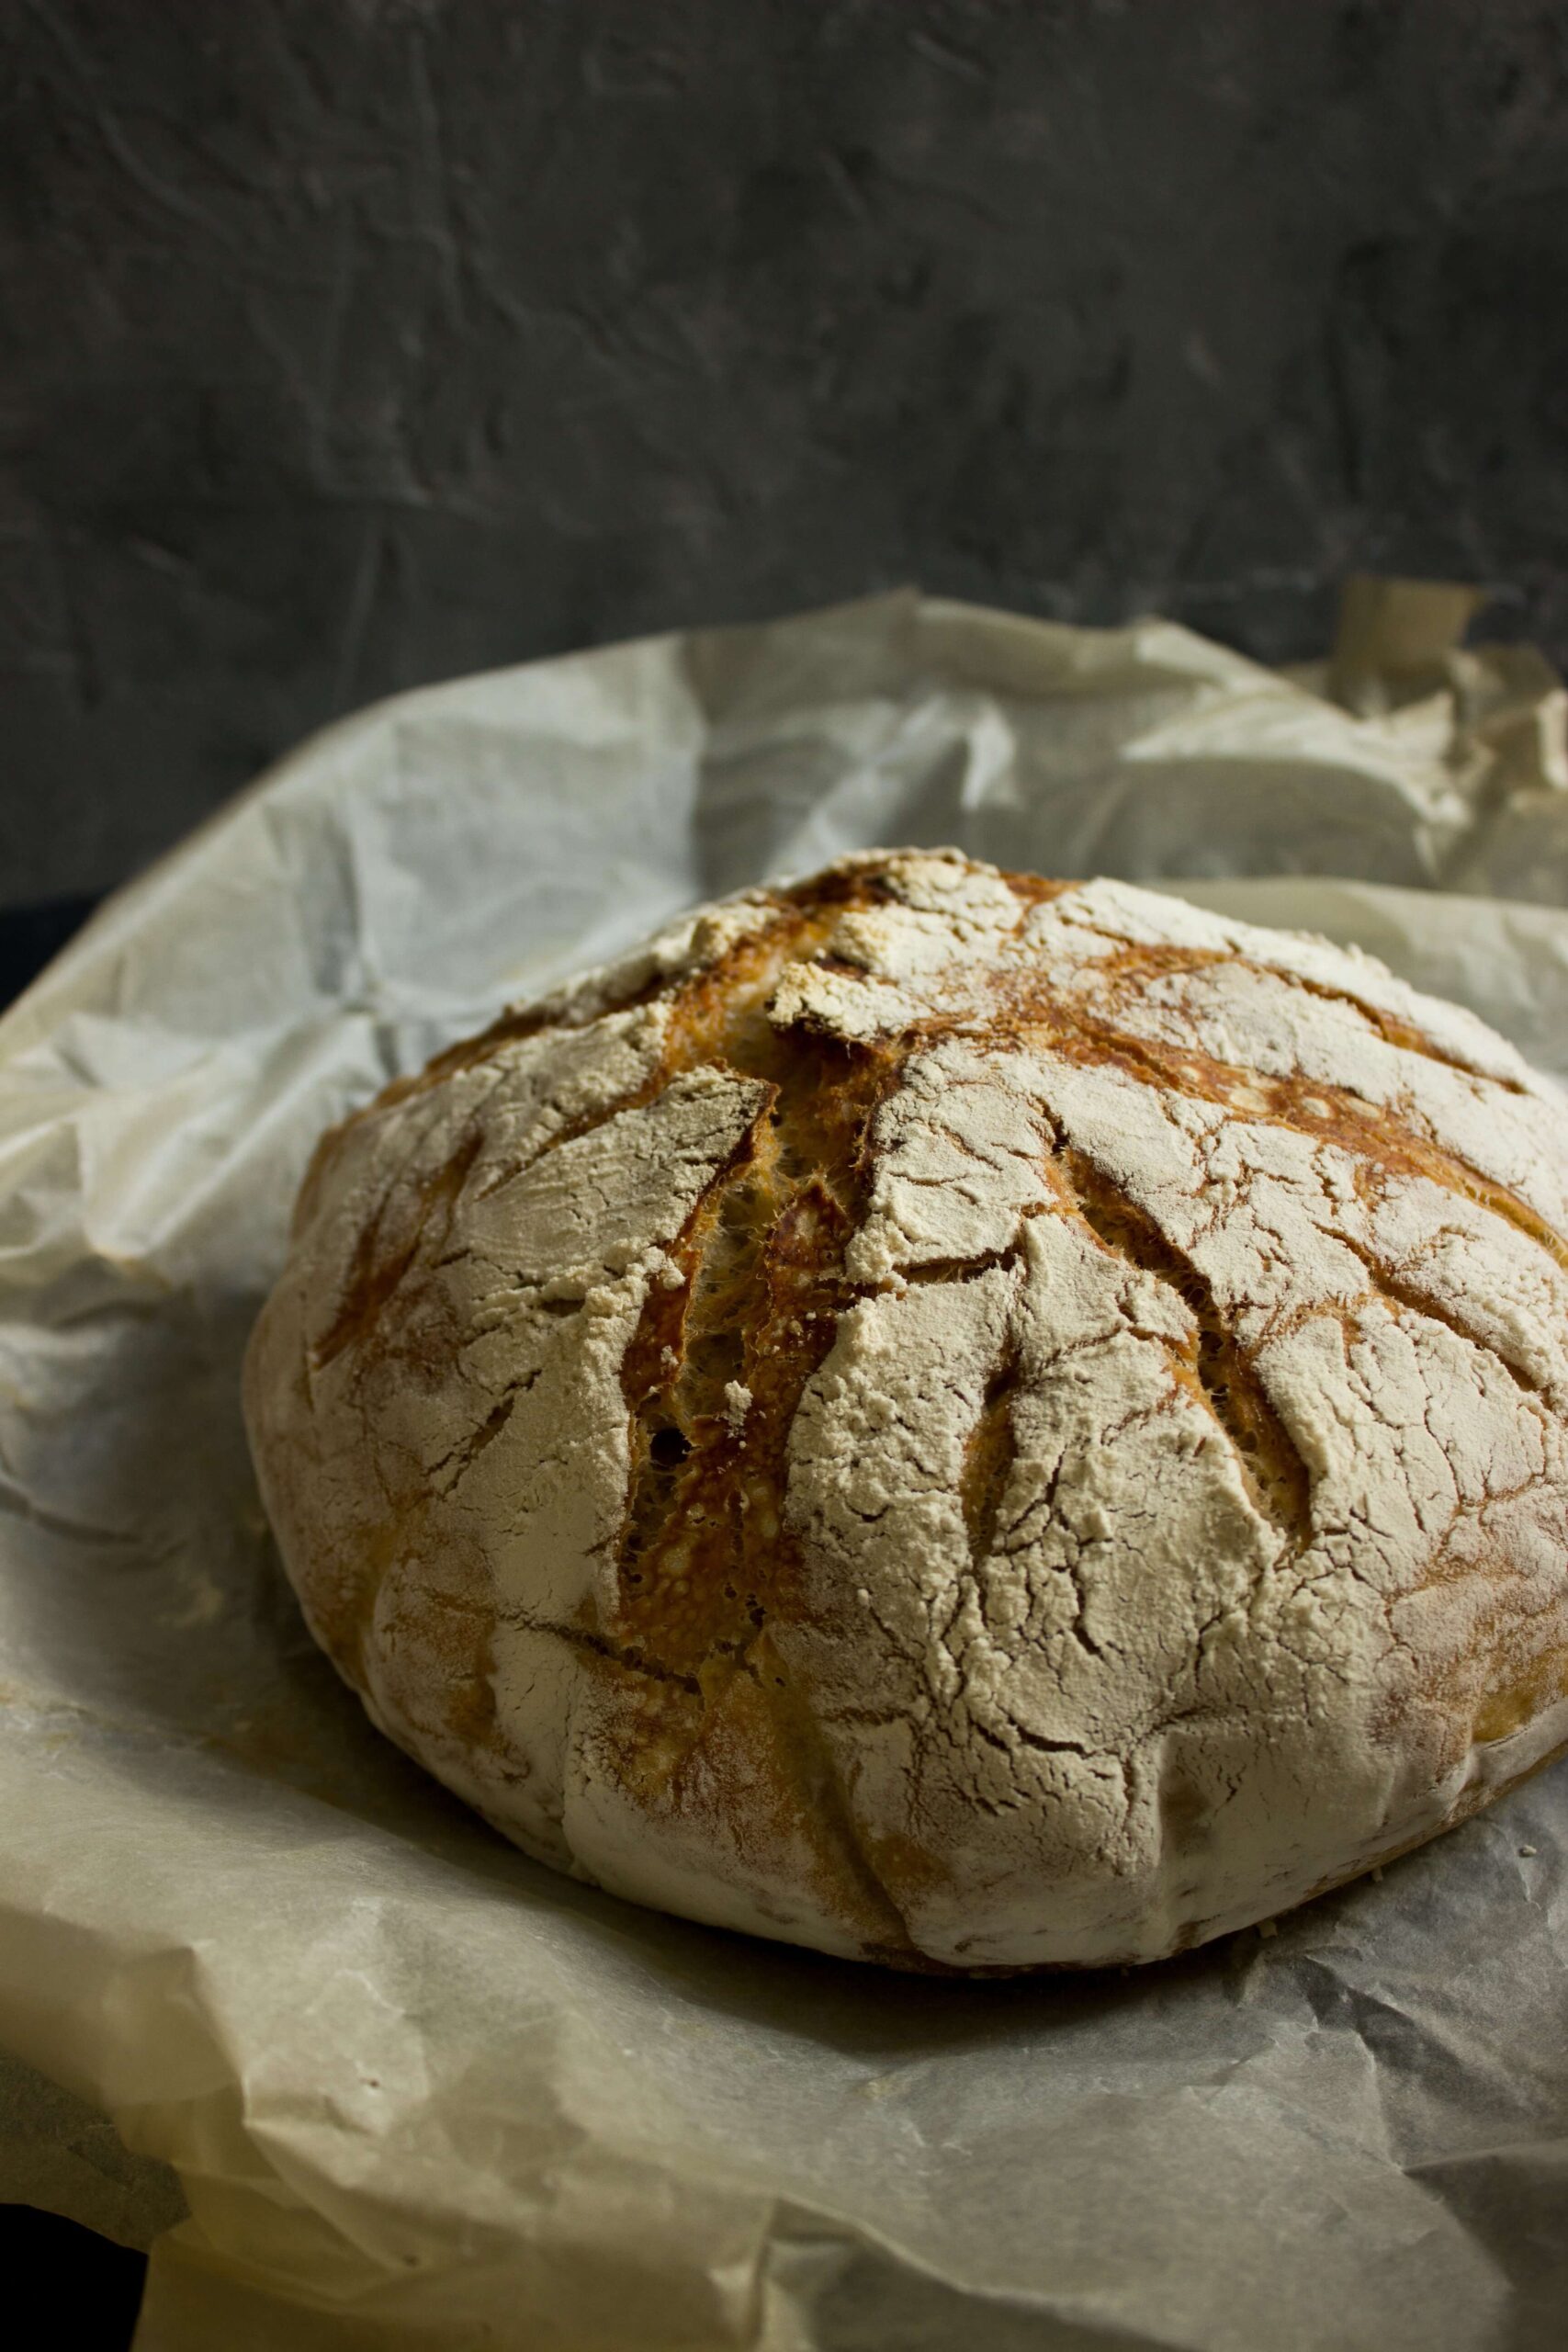
The Perfect Thanksgiving Pumpkin Pie Recipe

Thanksgiving is a time of warmth, gratitude, and of course, delicious food. Living off-grid doesn’t mean you have to miss out on traditional holiday treats. In fact, it offers a unique opportunity to connect more deeply with the food you prepare.
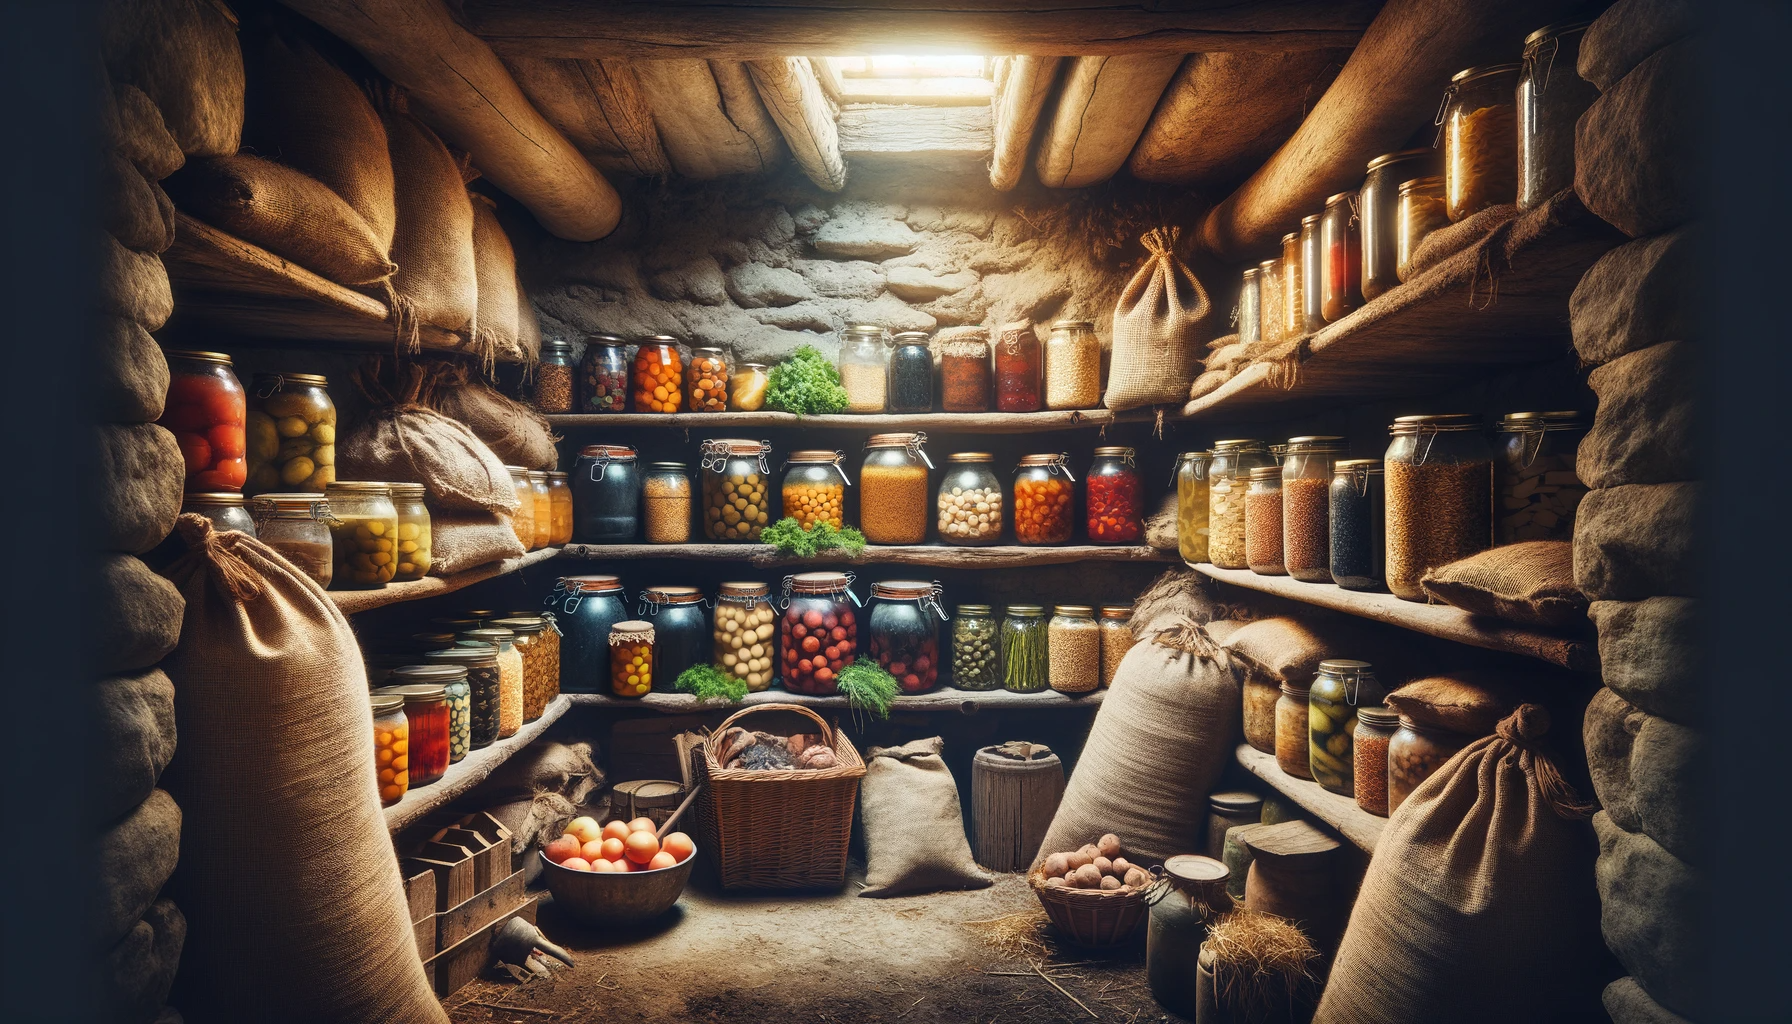
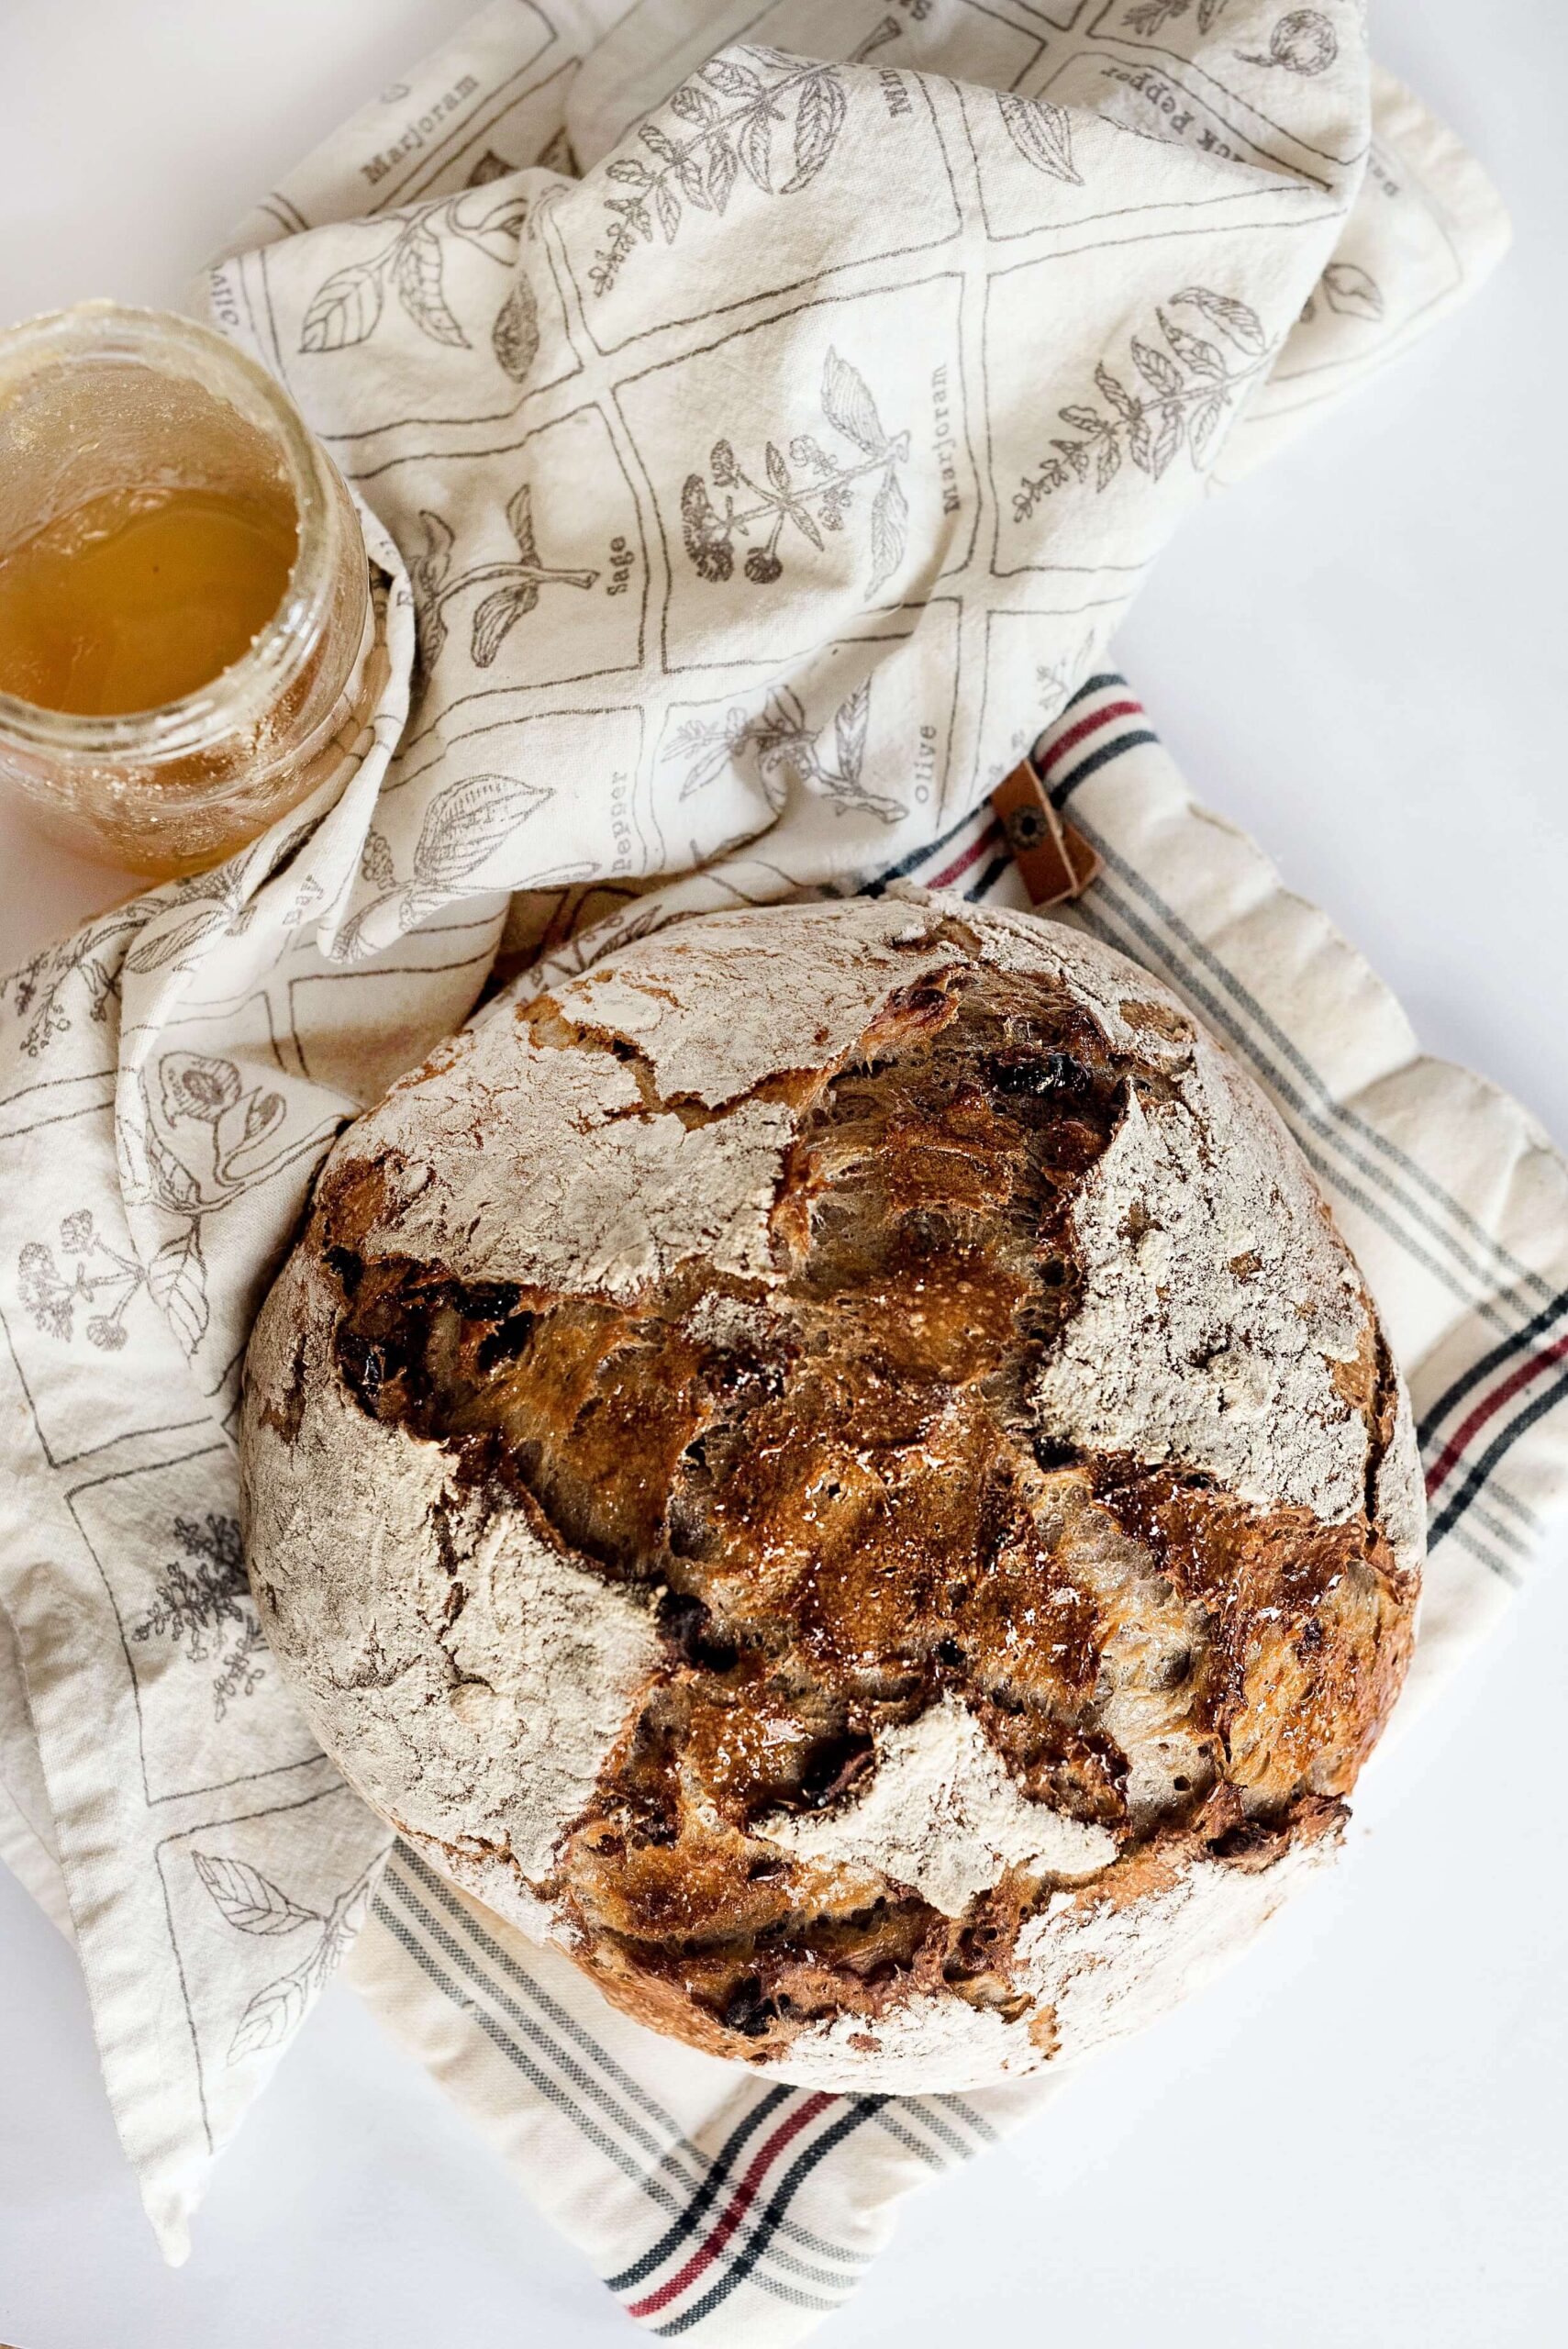